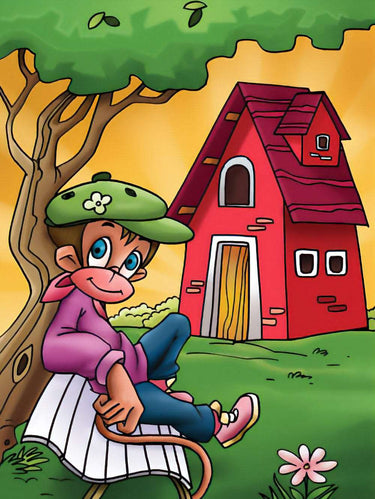
In this Illustrator tutorial, learn how to create a building using simple shapes and tools in Adobe Illustrator. Whether you're an aspiring architect or just want to add architectural elements to your design, this tutorial will give you the skills you need to get started.
1 It is very easy to construct a building in Illustrator. Start with a rectangle drawn using the Rectangle tool.

2 From the Appearance palette choose the Stroke layer. Change it weight to 5 pt.

Duplicate that Stroke layer. Change its weight to 1 pt and its colour.


Choose the Fill layer. Click on the Gradient tool and make a 3 colour gradient light to dark. Using the Gradient tool apply a vertical stroke to the rectangle.

3 Make a window using the same process used in the previous steps.
4 Draw out a rectangle horizontally and change its colour.

Make a highlight by drawing a vertical rectangle. Then select the two bottom points, while holding the Shift, and drag them left. Duplicate.

5 Form a new rectangle at the bottom of the window with the same colour hue as the base of the building. This is the shadow.
6 Choose the window and its shadow. Group them.
Duplicate three across.
Select All and using the arrow key, tap the windows to centre of the building.

7 Pick all three windows. Hold the Alt and Shift keys and drag below the current windows. This will duplicate the windows below the
current ones.
8 For the door, use the same methods shown above but change the colours.

9 Duplicate a window by Alt dragging. Resize it and then duplicate it.
Using the Direct Selection tool change the bars on the door to white. Change the shadows' size and colour below the windows.
10 To create the canopy of the doors, draw a horizontal line at the bottom using the Pen tool and then a vertical line.
Duplicate the stroke and fill using the Eyedropper tool. Choose the half and click on the door background.
Meet the two end points but do not let go of the mouse. Drag down to make a curve at this point while pressing the Shift key.
(Check the Appearance palette to see if the stroke weights have changed. If so, click on each stroke and specify 5 and 1 as we had before.

11 Using the Reflection tool to make a duplicate.
Press Ctrl+Y to view in Outline mode to make sure the two lines are meeting.
Use the Add to Shape Area Pathfinder button to merge the two halves.
Press the Expand button.
12 Duplicate a window again for the side windows. Resize it and then duplicate it.
13 Duplicate the top of the door for the top of the building.
Resize it and check the Appearance palette to make sure the strokes have not changed again.

14 Create a rectangle and duplicate it. If it is not meeting the exact size of the building, then select all the rectangles and resize them.
Group the rectangles.
15 Go to Warp Options and select Arc. Set the Horizontal to 47% respectively.
Choose Expand Appearance to make it permanent.

16 Using the Direct Selection tool change the stroke and fill.

17 Group the building and duplicate it.
Flip it vertically. Use Expand Appearance twice.
Change the size to look like a shadow coming from the building.
Use the Pathfinder Add to Shape Area button to make one piece.
Fill with a transparent 50% grey. Send to back.
Select all and group. Hit Ctrl+H to see the building better.
Go to Warp Options and choose Bulge. Set to Horizontal and 71% to give the building more dimension. The building will now have an
oval shape. Choose Expand Appearance to make it permanent.
Remember to hit Ctrl+H again to see the selection.
At this point after you have duplicated the buildings you can use the Direct Selection tool to change colours including shadow colours.


