Welcome to our Adobe Illustrator tutorial on producing Aboriginal art with Illustrator! This tutorial will teach us how to make our own original artwork inspired by the distinctive aesthetic and cultural significance of Aboriginal Art. We'll use a variety of Illustrator features and methods to create complicated patterns and designs that are frequently seen in Aboriginal art. At the end of this session, you'll know more about this exquisite artistic movement and be able to produce your own original works of art with an Aboriginal influence. So let's get going and unleash your imagination!
Open Photoshop. Create a new document of 800 x 600 px. Create a brush of size 35 to get spacing as shown below.

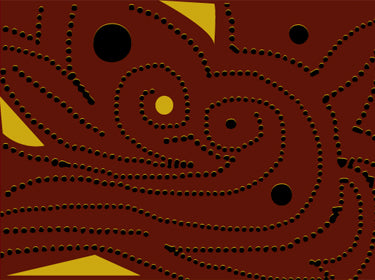
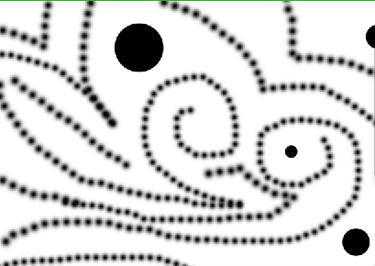
You can see the artwork I created. I saved it as a JPEG.
We require 3 layers. The size of the document is 800 x 600 px. Keep rectangle in layer 1 and layer 2. Make the Photoshop file in layer 3.


Select the layer and apply Simple Trace from Live Trace.
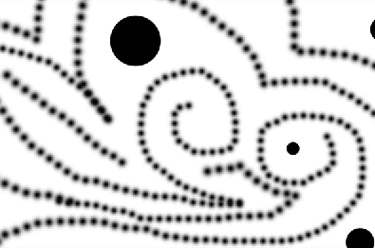


Select Expand next.
Now unlock the layer. Then choose everything on the artboard expect the first layer. From the pathfinder select Divide option. Navigate to the menu and select Expand. Use the Direct Selection tool and pick the brown rectangle. Use the arrow keys smoothly move the piece upwards.

Make use of the Knife tool to cut out sections.