There are 4 types of brushes that you can create in Illustrator. (Calligraphic, Art, Scatter, and Pattern). In this tutorial I will show you how to make an Art Brush.
Make a Custom Illustrator Art Brush: Open a new document and draw any shape. You can make any shape into a brush. Here, I made a couple of bars and some blocks scattered about.

Choose all the shapes you prefer to use as brush. Then open the Brushes palette, click on the little arrow in the upper left, and select “New Brush.”

You can choose 1 of the 4 brush types. Select “Art Brush” and click OK.
In the Brush Options, make sure you have selected “Tints” as the Colourisation Method. This allows you to change the colour of the brush to a stroke colour. There are lots of other settings you can play with here, including the direction of the brush stroke. Select your settings and click OK.

Now you can see a new Custom Brush in the Brushes palette.
Make a shape to test the new brush.

Select a stroke in the tool's palette, and click on your Custom Brush in the Brushes palette to apply it to the circle:

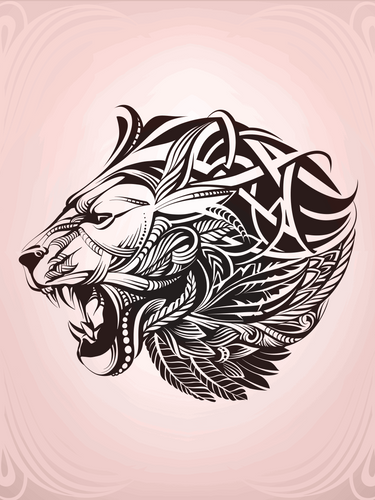
Custom Brushes are an easy way to get shapes that would have otherwise taken you hours to draw by hand. In the image given below, I duplicated the brush, overlapped it, and adjusted scale, colours and stroke sizes. You can make multiple brushes in order to get way more complex.


