In this tutorial you will learn to use gradient and blending mode to replicate the Photoshop CS2 splash image. Learn how to create a visually striking splash graphic using Adobe Illustrator and Photoshop CS2 with this step-by-step tutorial.
1. Creating the feather paths
Using the Pen tool creates feather paths.

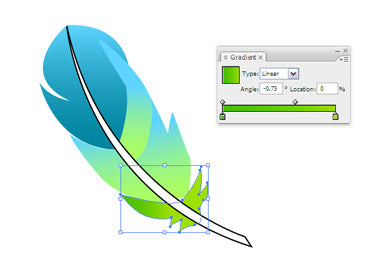
2. Applying the Gradient Colour
Choose the top two paths. Fill it with Radial Gradient. Choose similar colours as shown. Repeat this step for the rest of the paths.


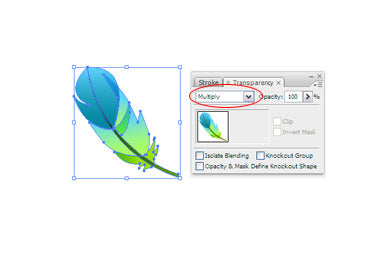
3. Applying Multiply
Choose all the feather paths. go to Transparency palette, select Multiply.

Final Image
Duplicate the feather and lower the Opacity (Transparency).


