In this Illustrator tutorial, we will explore the process of creating a maze design step by step. We'll start by creating a basic grid and then use a variety of techniques to add details and make the maze more interesting.
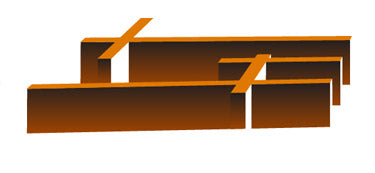
Pick the Rectangle tool and draw some intersecting rectangles. Use Pathfinder’s Add to Shape Area. Then click on Expand.

Click on Free Distort to manipulate it. Then use Expand Appearance afterwards. You can then apply a gradient to the piece.

Make a new gradient with a very dark colour that will be at the top. Using the Pen tool, draw in front of the maze sections.

Make a new gradient.
Now finish off the maze.


